Can Premiere Pro Upload to Multiple Places
The length of a video you may have for your editing project might feel overwhelming at times if you have a lot of media to put into your timeline at once. 1 way to organize your clips can exist to use what are called sequences.
In Adobe Premiere Pro, sequences are smaller video projects within your chief project. This is a way to organize scenes in longer videos, create different "drafts" of your video, or go on a continued series of videos all in one identify without having to outset an entirely new projection.
Sequences may seem daunting, only in one case you know how they're used they can be a swell tool for whatsoever video editor.
How to Create a Sequence
Making a new sequence is easy to do once you lot have your Premiere projection opened upwardly and your videos prepare to go. Here's how to create a sequence.
- Navigate to the Project panel in your projection.
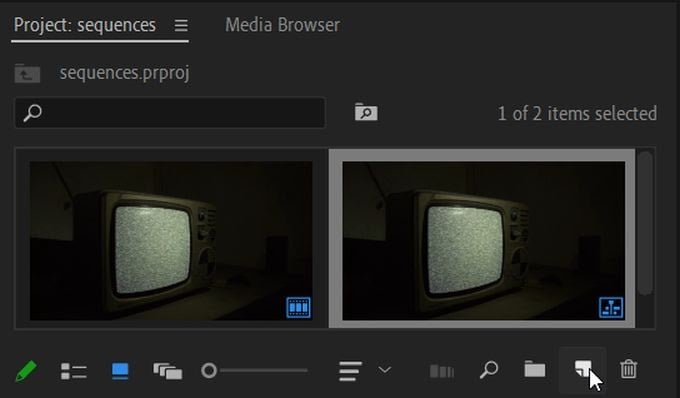
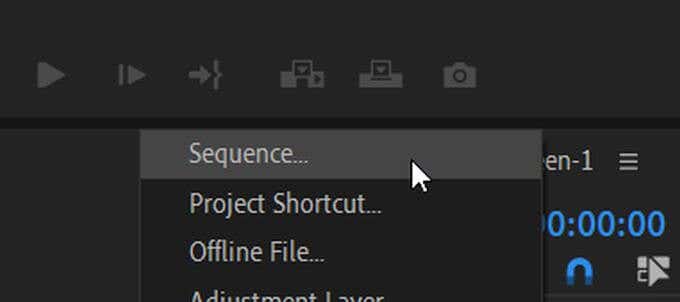
- Correct click, select New Detail, and choose Sequence.
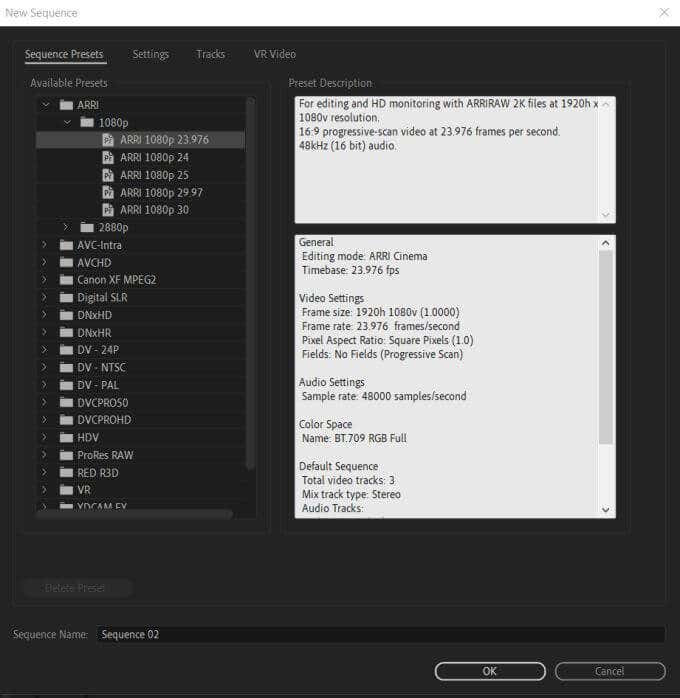
- In the New Sequence window, select the preset that most closely matches the camera you used to shoot the video in your project. Select OK.
- The new sequence should appear in the timeline panel. You can then add together new videos to this sequence.

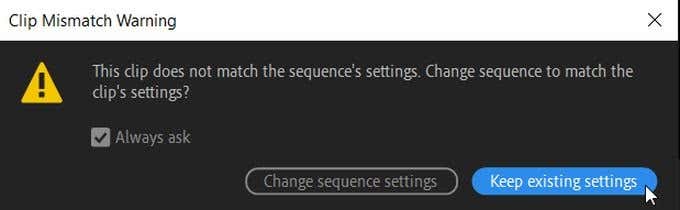
If you're non sure what kind of sequence settings to choose, it's okay to choose any of them. If the clip you add doesn't match, you can have Premiere adjust the sequence settings to automatically match the clip.
Another way to create a sequence is by using a clip you have, and Premiere will cull the sequence settings based on the clip.
- Find the clip yous want to create a new sequence within your Project panel.
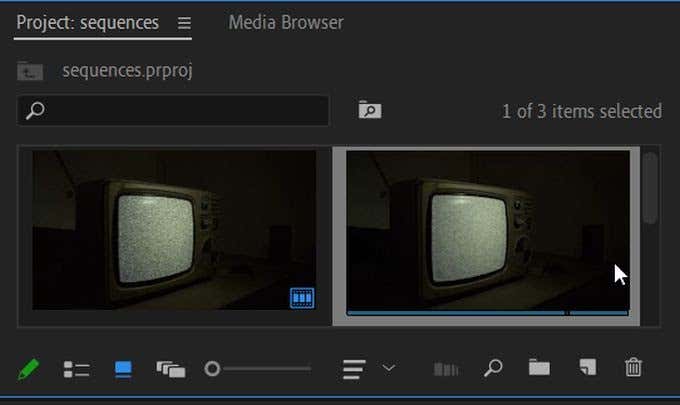
- Click and drag the clip into the New Detail option.
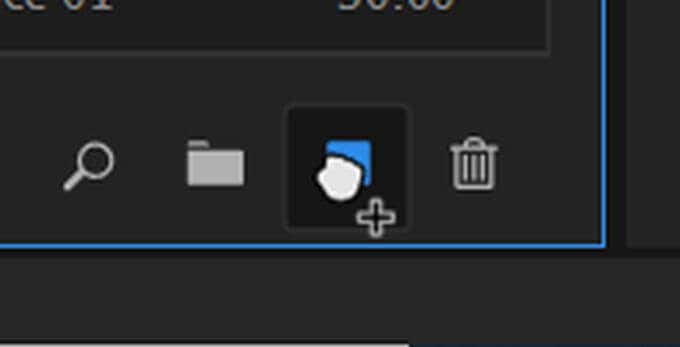
- A new sequence will exist created using the prune'due south settings.
This is a simple and quick way to create a new sequence with sequence settings matching your prune. Sometimes, though, you might want to keep the same sequence settings when you add a clip, and you can exercise this by selecting Keep Existing Settings when yous come across the popular-upwards window.
How to Combine Sequences
If you lot want to put all your sequences together into ane, single timeline, information technology'southward possible to practise this as well. This is good to do when y'all've but about finished editing your sequences, and want to put them into a master sequence to keep things organized.
This process is called nesting – equally you're substantially "nesting" one sequence into another to combine them every bit one video. Here'south how to do this:
- Brand sure y'all've inserted and overwritten sequences as nests or individual clips enabled in your timeline. Then locate your outset sequence yous want to use, select it and then correct-click on it, and choose Nest.

- Requite the sequence a proper name, keeping in mind that this will be the sequence the rest of your clips are nested into.
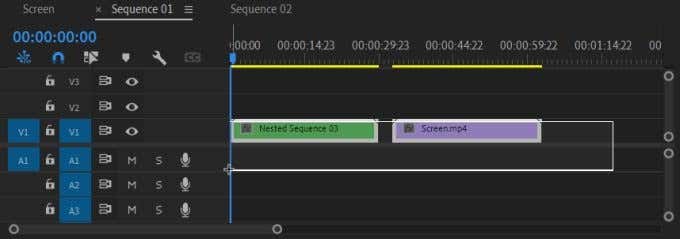
- Become to the next sequence y'all want to nest, correct-click and select Nest. Then select the nested sequence and drag it into your master sequence.
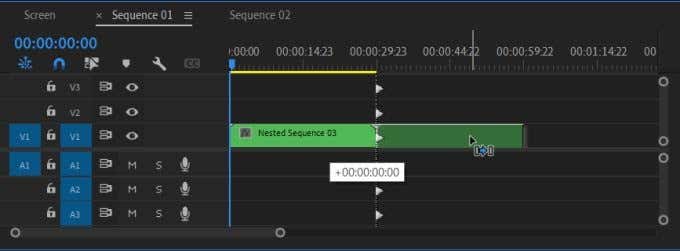
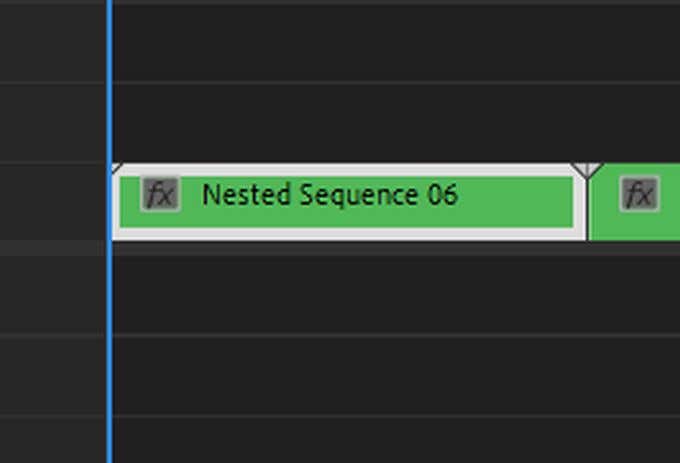
- When a sequence is nested, you'll meet information technology change to a green colour. When you lot double-click on a nested sequence, the original sequence will come up and y'all can go on to edit it from there if y'all wish to.
In one case all your sequences have been combined, it'due south much easier to play all your videos or scenes sequentially, every bit a whole.
How to Edit and Delete Sequences
If you're using sequences, it's also important to know the ins and outs of editing them. Yous may, for example, want to alter some of the settings or maybe delete an unwanted sequence.
Editing Sequences
To edit aspects of your sequences, navigate to the top bar in Premiere and select Sequence. Yous'll see a driblet-down of options for y'all to alter in your sequence.

At the top, you can cull Sequence Settings to direct modify them. This will only change the settings of the sequence you've selected, so brand sure you've selected the right one before going into the settings and irresolute them.
Subsequences
Yous can also create what are called subsequences, which function very similarly to nested sequences. They will non modify the clips on your actual timeline in any way and instead will be created separately in your Project panel. To do this:
- Find the clip in your timeline y'all wish to make into a subsequence.
- Correct-click on it and select Make Subsequence
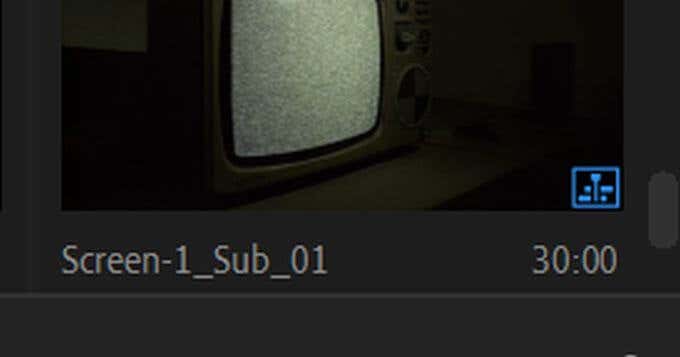
- The subsequence will announced in the Projection panel.
A nested sequence will take all the clips from your sequence and change information technology into a nest. You'll just have to double-click on the nest in social club to edit your clips over again.
Deleting a Sequence
If yous decide yous no longer desire a sequence on the timeline anymore, it's very easy to delete them.
- Select all the clips inside the sequence and hitting Backspace to delete them.
- At the peak of the timeline find the sequence title and click the modest x abreast it. This should remove the sequence from view.
- If you've nested the sequence somewhere else, y'all can still double-click on it to open it in the timeline again.
- To delete a nested sequence, just select it in the timeline and hitting Backspace.
Using Sequences in Adobe Premiere Pro
Once you get the hang of using sequences, they can act equally a very powerful tool for your workflow when you have long, backbreaking projects. It provides a great method of organization and helps you keep everything straight, without having to create extra Premiere projects.
Hopefully, this guide helped you lot go a grasp on how sequences work in Premiere and you tin can start utilizing them in your own editing projects.
Practice not share my Personal Information.
Source: https://helpdeskgeek.com/how-to/how-to-create-and-combine-sequences-in-adobe-premiere/
Post a Comment for "Can Premiere Pro Upload to Multiple Places"